How to Use an Instant Read Thermometer for Accurate Cooking
Learn how to use an instant read thermometer for accurate cooking results. This guide covers calibration, insertion, and proper reading techniques.

Intro
This guide explains how to use an instant read thermometer to ensure food safety and achieve precise cooking temperatures. Accurate temperature readings prevent undercooked or overcooked meals.
What You’ll Need
- Instant Read Thermometer (digital or analog)
- Glass of ice water
- Small pot of boiling water
- Food item to cook
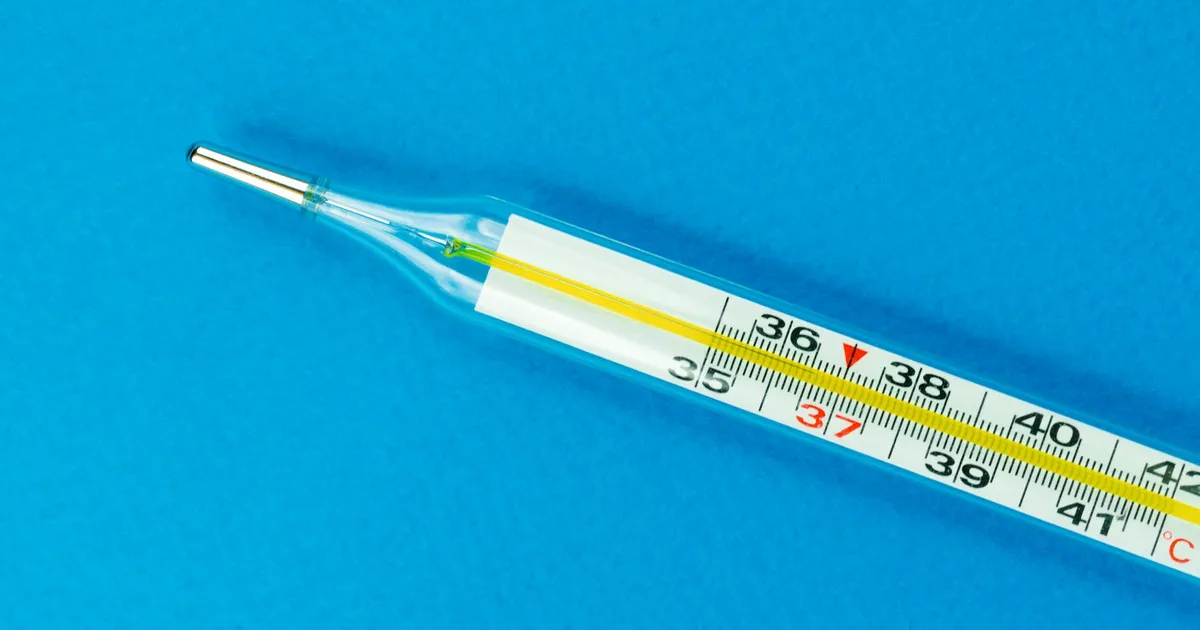
Step 1: Calibrate Your Thermometer
Calibrate your instant read thermometer for accurate temperature readings. Insert the probe into a glass of ice water, ensuring the tip is submerged without touching the bottom or sides. The thermometer should read 32°F (0°C); adjust if necessary according to the manufacturer’s instructions. For a second check, place the probe into boiling water, which should read 212°F (100°C) at sea level.
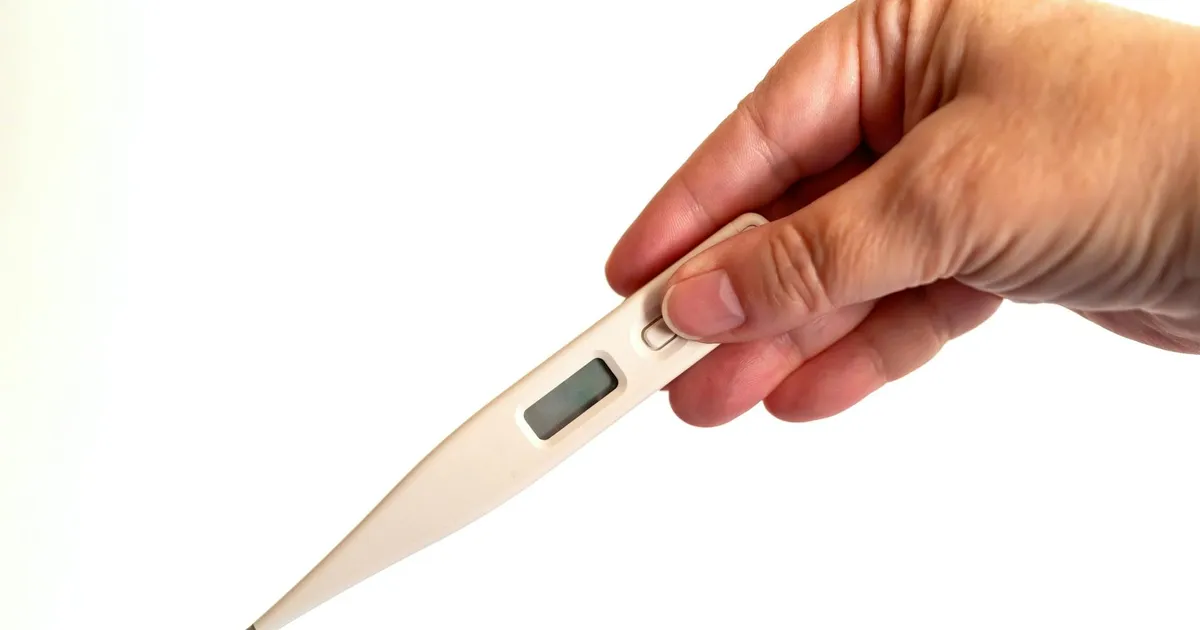
Step 2: Choose the Correct Thermometer Type
Select an instant read thermometer appropriate for your cooking needs. Digital instant read thermometers, often thermocouple types, provide quick readings within 2-10 seconds. Analog thermometers offer a simpler design but may take slightly longer to register a stable temperature. Explore options like the Best Instant Read Thermometer For Instant Read for general use or Best Instant Read Thermometer For Smoking for specific applications.
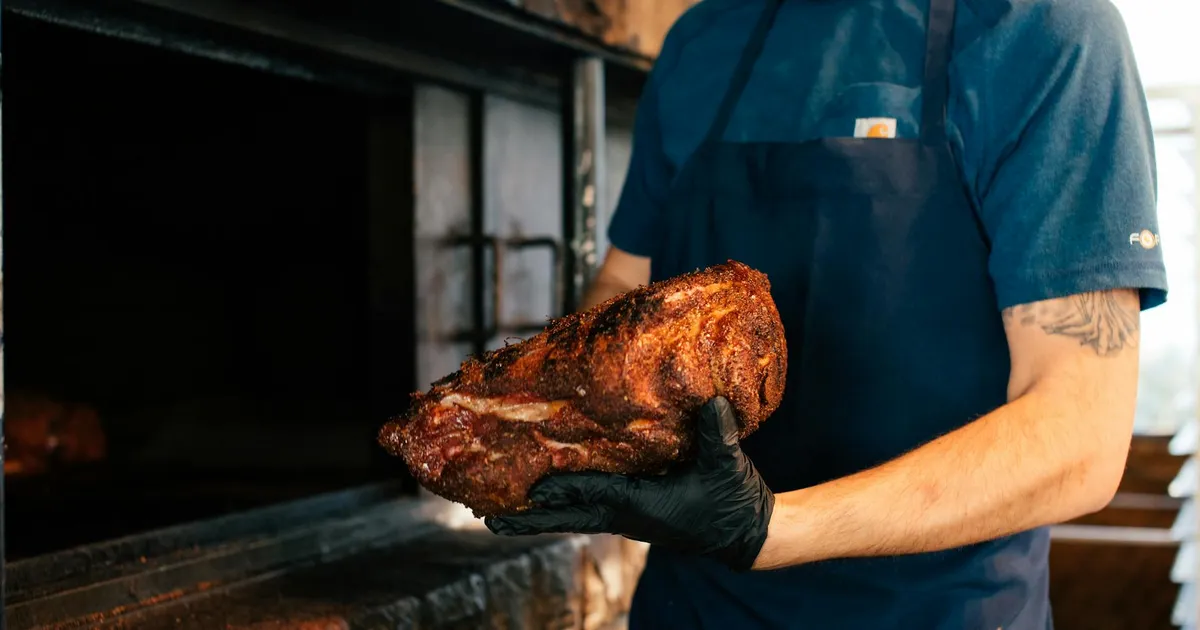
Step 3: Insert the Probe Correctly
Insert the thermometer probe into the thickest part of the food item. Avoid touching bones, gristle, or fat, as these can give inaccurate temperature readings. For meats like chicken breasts or roasts, aim for the center.
Step 4: Read the Temperature
Wait for the temperature display to stabilize. Digital thermometers typically show a stable reading within a few seconds, while analog versions require a bit more time. A 2001 USDA study found that beef could appear brown but still be below the 160°F necessary to kill E. coli, highlighting the importance of internal temperature.
Step 5: Remove and Clean
Remove the thermometer from the food once the desired temperature is reached. Clean the probe immediately with hot, soapy water to prevent cross-contamination. Store the thermometer in a clean, dry place.
Tips and Best Practices
- Always check the internal temperature in multiple spots to ensure even cooking.
- For thin cuts of meat, insert the probe horizontally to get an accurate reading.
- Allow meat to rest for 5-10 minutes after cooking; the internal temperature often rises a few degrees during this time.
- Refer to USDA guidelines for safe minimum internal cooking temperatures for various foods.
- Consider a Best Wireless Meat Thermometer For Grilling for monitoring temperatures remotely during longer cooks.
Common Mistakes
- Touching Bone or Fat: This leads to falsely high or low readings.
- Not Calibrating: An uncalibrated thermometer provides inaccurate temperatures.
- Reading Too Quickly: Not allowing the thermometer enough time to stabilize results in incorrect readings.
- Inserting Too Shallowly: The probe must reach the true center of the thickest part.
FAQ
Q: How often should I calibrate my instant read thermometer? Calibrate your thermometer regularly, at least once a month or if you suspect inaccurate readings, using the ice water or boiling water method.
Q: Can I leave an instant read thermometer in the food while it cooks? No, instant read thermometers are not designed to be left in food during cooking. They are for quick spot checks; use a Best Wireless Meat Thermometer For Oven for continuous monitoring.
Q: What is the ideal temperature for fully cooked chicken? Chicken should reach an internal temperature of 165°F (74°C) to be safely cooked.
Q: Why is my instant read thermometer reading 210°F in boiling water? A reading of 210°F (99°C) in boiling water, instead of 212°F (100°C), typically indicates a slight altitude difference or a need for recalibration. Boiling point decreases at higher altitudes.
- meat-thermometers
- meat